
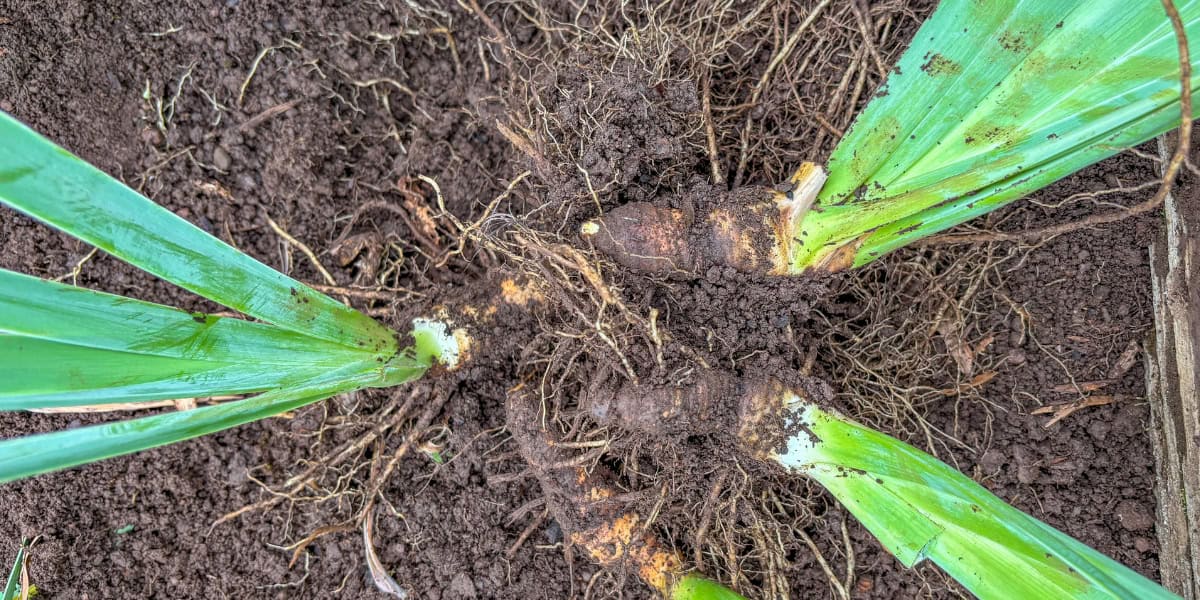
If you already grow iris flowers in your garden, you know how rewarding those ruffled, jewel-toned blooms can be every spring. But even the happiest iris garden slows down eventually, and that’s where dividing irises comes in. Overcrowded rhizomes stop blooming and can invite rot, while dividing them is an easy task that multiplies your favorite varieties for free. Whether you’re growing irises for the first time or you’ve had a patch for years, this guide covers when to divide, how often, simple beginner steps, how to prepare irises for winter in any USDA hardiness zone (I’m Zone 8), and where to find the best books on growing irises.
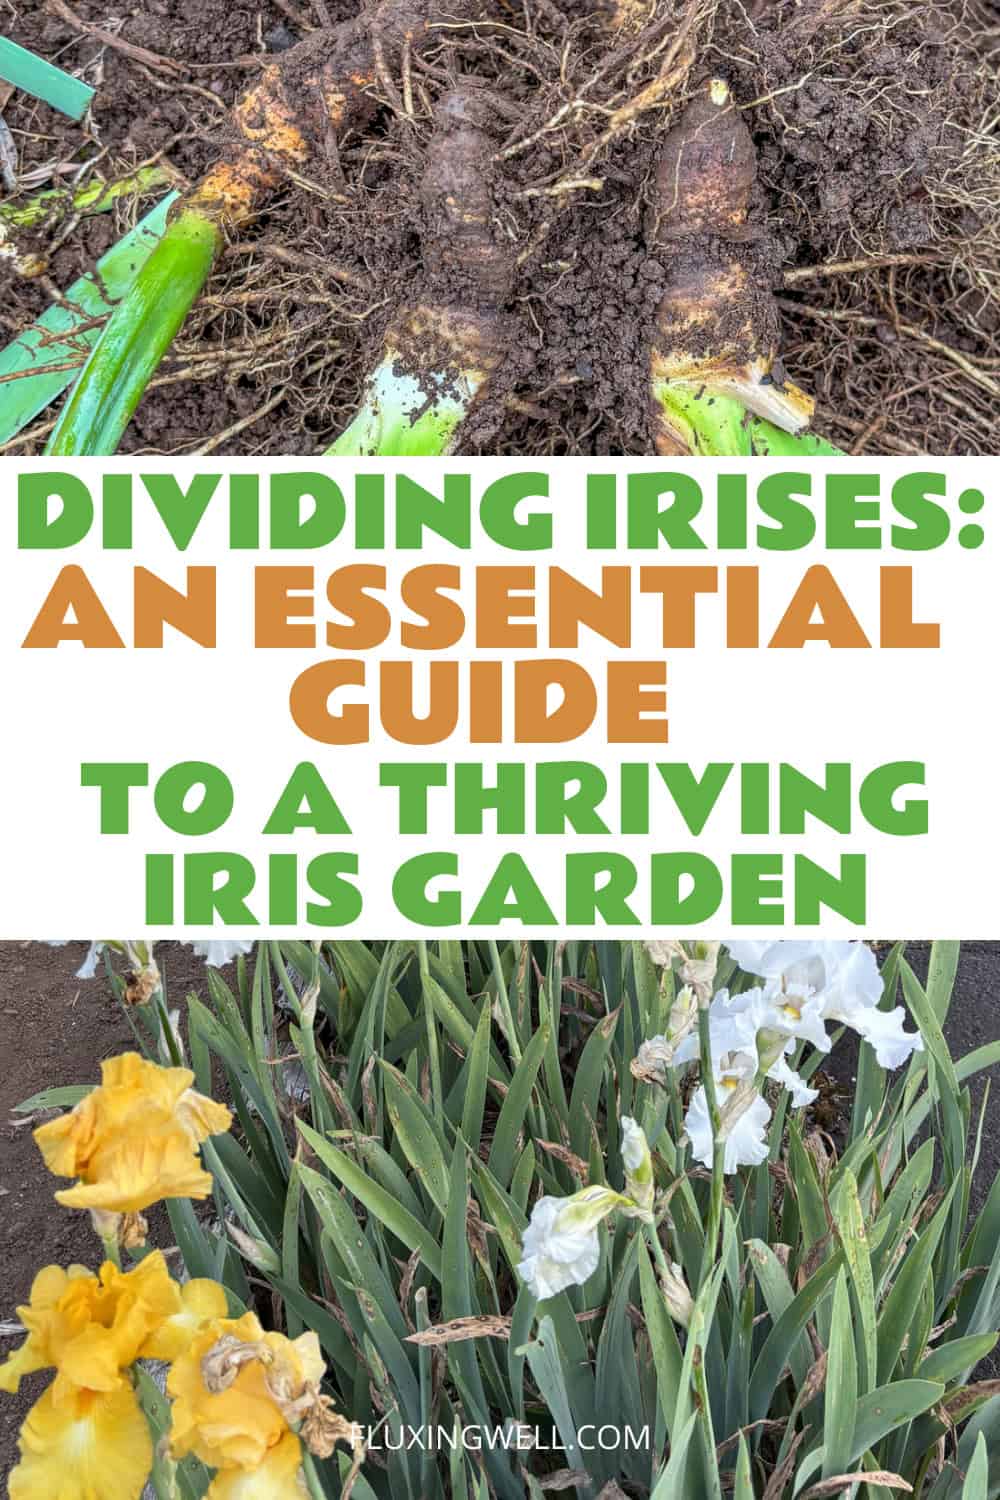
When to Divide Irises
Timing matters more than almost anything else when it comes to dividing irises successfully. The best window is six to eight weeks after your irises finish blooming, which for most bearded irises falls in mid to late summer, typically July through early September depending on your climate. Dividing during this dormant period gives the rhizomes time to heal and establish roots before cold weather sets in, without asking them to also produce flowers at the same time. These irises in my main iris row are ready to be divided.
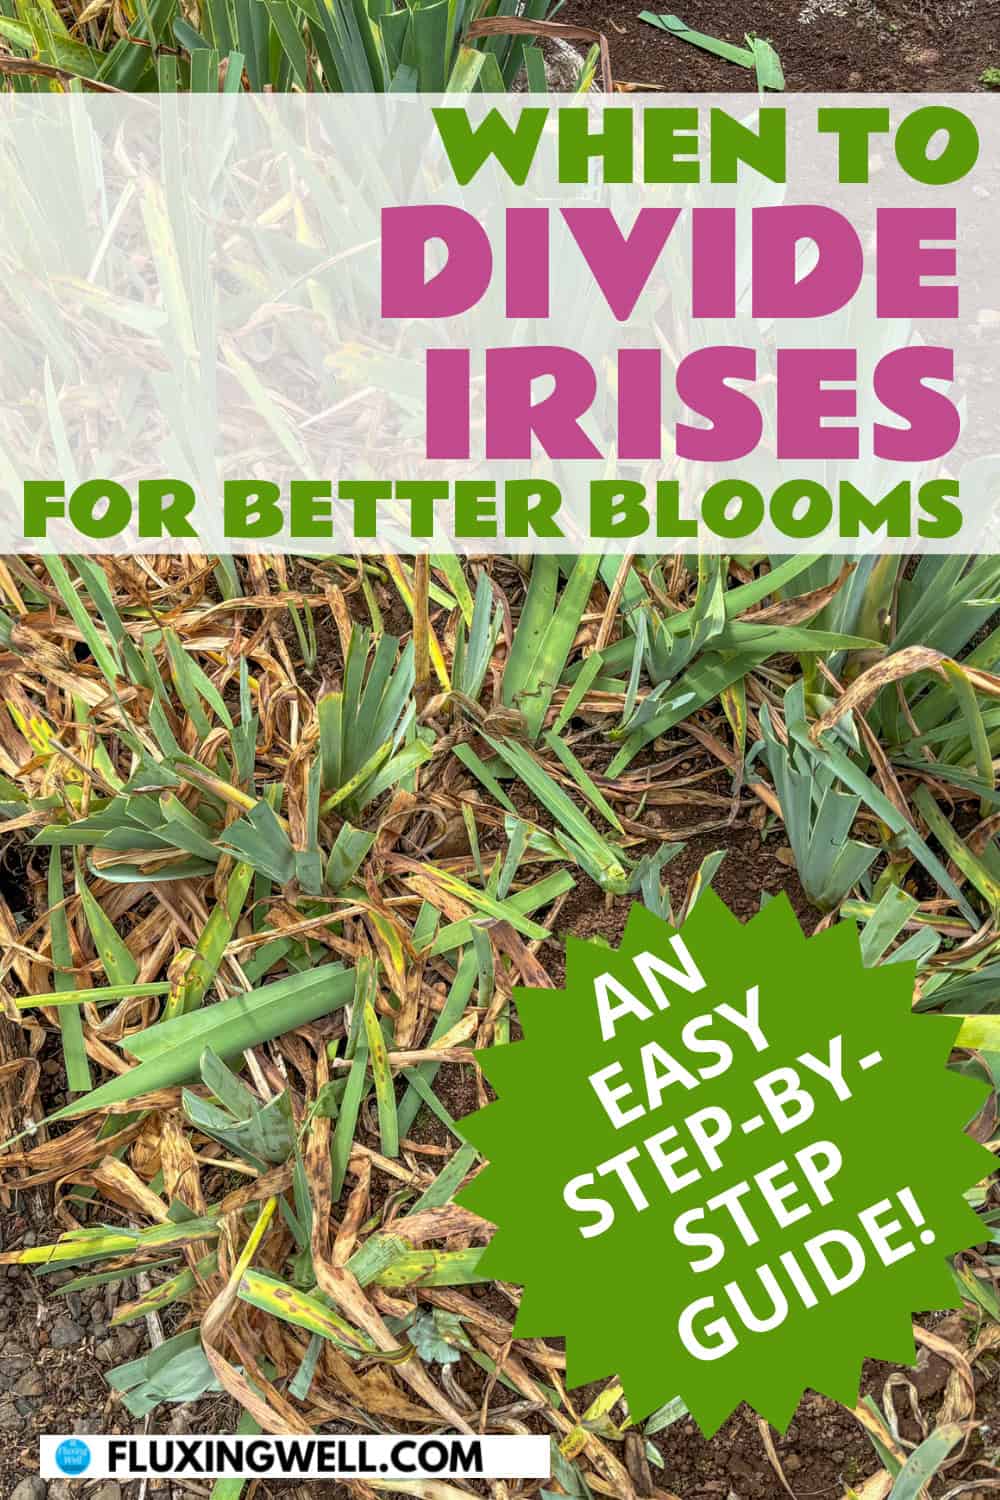
Avoid dividing in spring right before or during bloom season. The plant is putting all its energy into flowering, and disturbing the roots then can set your irises back a full year. Fall is workable in mild climates, but you’ll want to get it done at least six weeks before your first hard frost so new roots have a chance to establish. If you’re ever unsure, watch the plant instead of the calendar: once the foliage looks a little tired and the flowers are long gone, your irises are ready.
How Often to Divide Irises
A good rule of thumb is to divide irises every three to four years. Bearded irises in particular are vigorous growers, and a rhizome clump left alone much longer than that starts to resemble a traffic jam, with old, woody centers surrounded by newer growth pushing outward. When that happens, blooms become smaller and sparser, even though the plant looks lush.
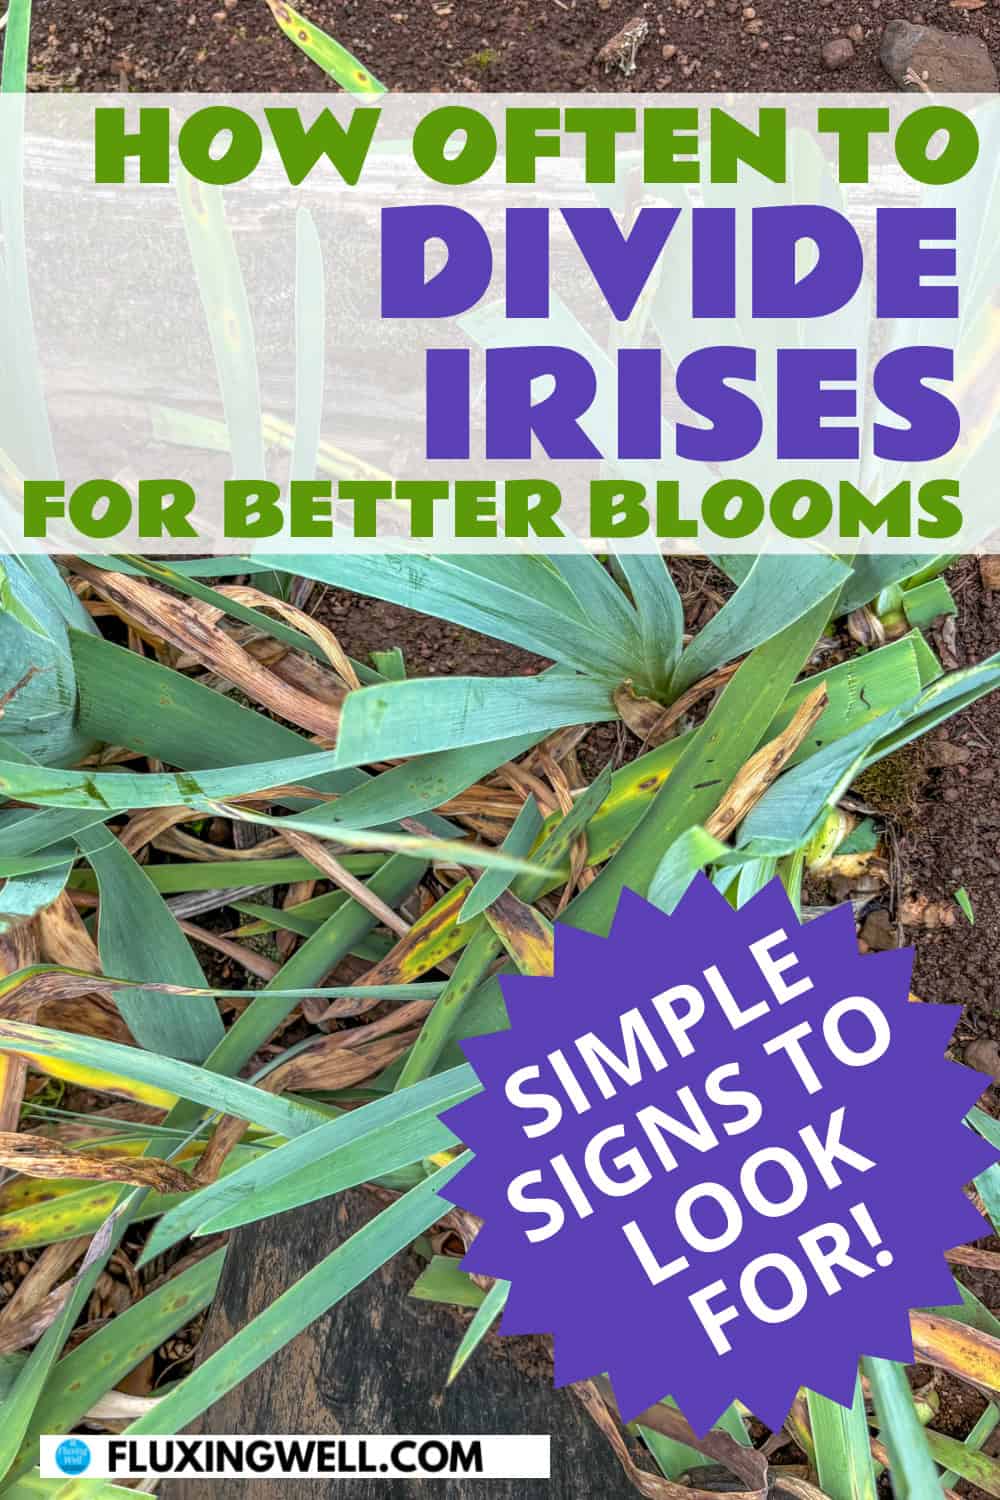
You don’t have to go strictly by the calendar, though. Let your iris garden tell you when it’s time. Signs that division is overdue include a hollow, congested-looking center in the clump, fewer flowers than in previous years, rhizomes pushing up and crowding each other above the soil line, or foliage that seems more susceptible to leaf spot or soft rot. Catching these signs early keeps your plants healthier and your garden looking its best.
How to Divide Irises (Easy Steps for Beginners)
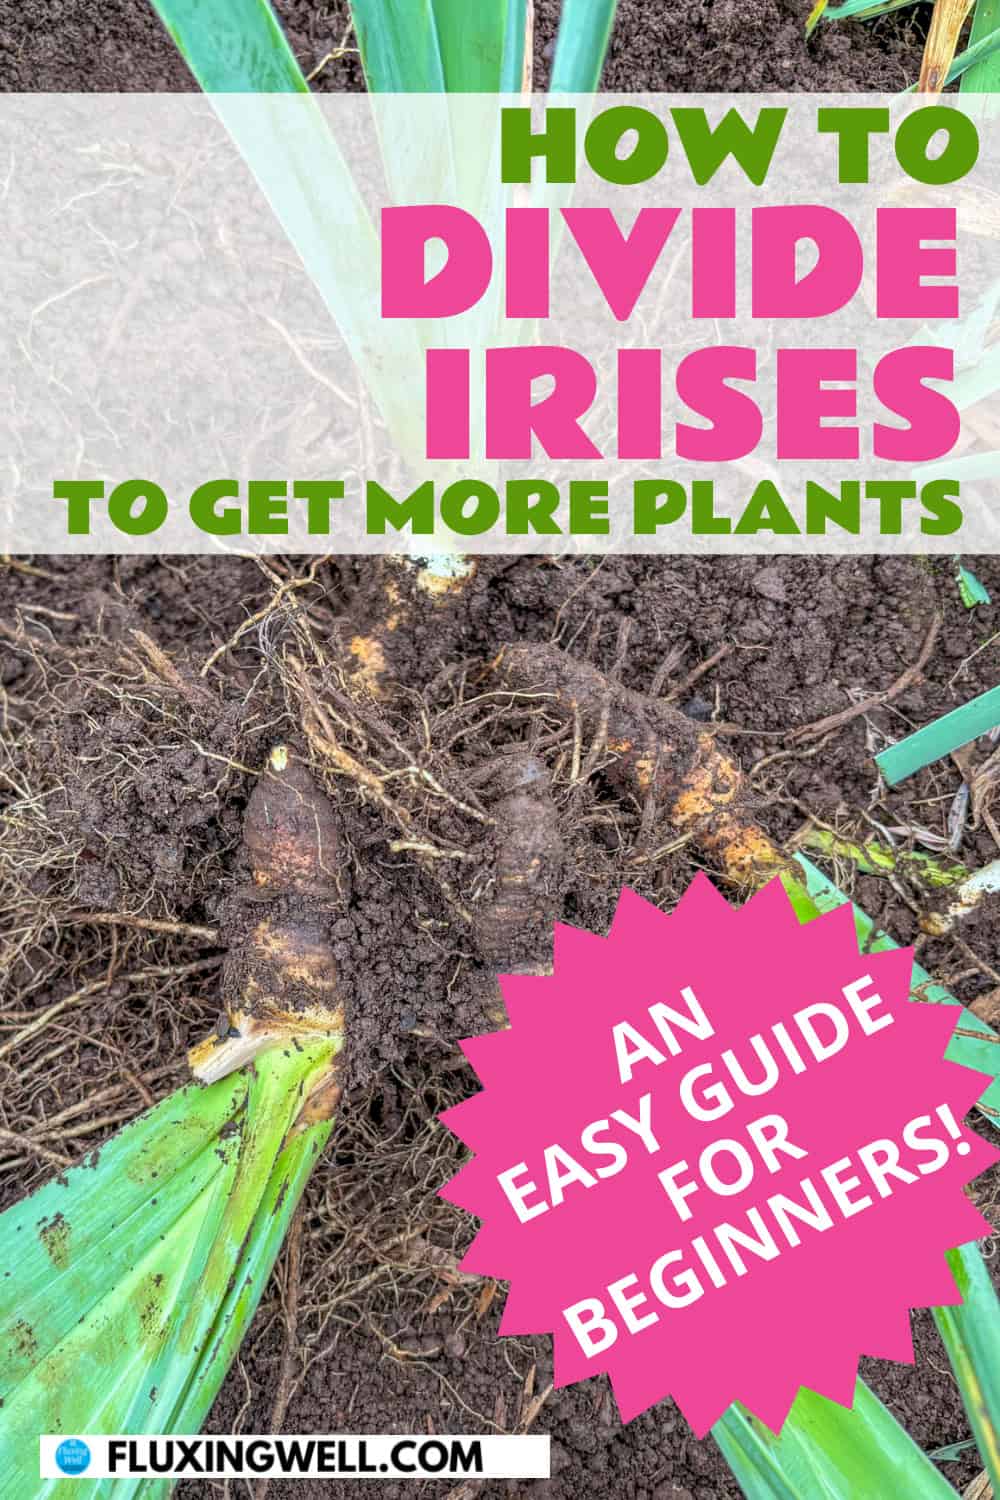
Dividing irises really is a beginner-friendly task, and you don’t need any special tools beyond a garden fork and a clean, sharp knife. Here’s how to do it with confidence.
Tools You May Need

Gather your tools. You’ll want garden shears, a small garden shovel, garden fork, or trowel, a sharp knife (a kitchen paring knife works fine), a bucket (or wheelbarrow), and garden gloves. Wipe your knife blade with rubbing alcohol before you start to help prevent spreading disease between plants. I am usually able to just divide the rhizomes without needing a knife. The garden gloves I like are similar to these.

Lift the whole clump. Loosen the soil a few inches out from the base of the plant with your garden fork, then gently lift the entire rhizome clump out of the ground. Shake or rinse off excess soil so you can see what you’re working with.
Cut the foliage back. Trim the leaves into a fan shape about four to six inches tall. This reduces water loss while the roots are re-establishing and makes the rhizomes much easier to handle.
Separate the rhizomes. Snap or cut the rhizomes apart at the natural joints. Each division should have at least one healthy fan of leaves and firm, plump roots. Discard the old, woody center sections; they rarely bloom well again.
Inspect and discard problem pieces. Toss any rhizome that feels soft, mushy, or smells unpleasant, which are signs of iris borer damage or bacterial soft rot. Only healthy, firm rhizomes should go back in the ground.
Let the cuts callus. Set the divisions in a shady, dry spot for a few hours to a full day so the cut ends can callus over. This simple step helps prevent rot once they’re replanted.
Replant right away. Once callused, get your divisions back into the ground following the planting guidance below. The sooner they’re replanted, the sooner they’ll settle in before winter.
How to Prepare Irises for Winter in Different USDA Plant Hardiness Zones
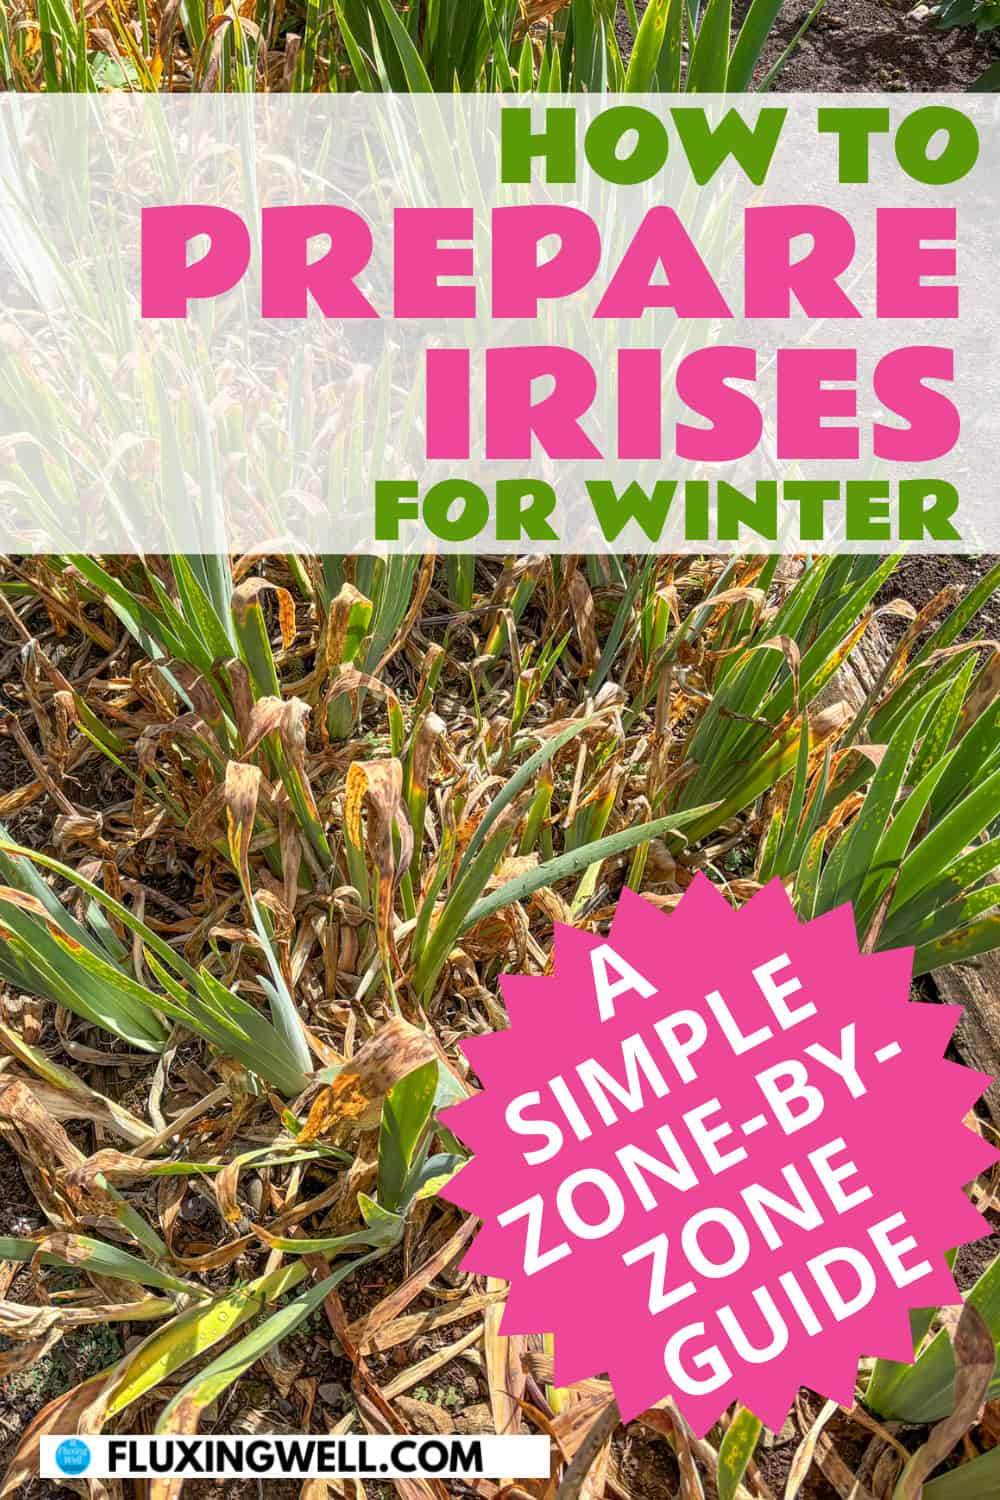
Winter prep for irises looks a little different depending on where you garden, so it helps to know your USDA hardiness zone before you tuck your plants in for the season.
Zones 3–5 (cold winters): Winter protection matters most here. After the first light frost, cut foliage back to four to six inches and clear away fallen leaves and debris, since damp debris invites rot. A light layer of straw or evergreen boughs helps insulate newly divided plants through their first winter, but avoid piling mulch directly on the rhizomes, which need to stay relatively dry.
Zones 6–7 (moderate winters): Irises are hardy here and need minimal fuss. Trim foliage, clear debris, and skip mulch unless you divided and planted late in the season, in which case a light straw covering for a few weeks is cheap insurance.
Zones 8–9 (mild winters): No winter protection needed. Keep foliage tidy through fall and make sure soil drains well, since soggy winter soil is a bigger risk than cold here.
Zones 10–11 (warm winters): Bearded irises may not get the winter chill they need to bloom well and are often grown as evergreen foliage plants; beardless types like Louisiana iris tend to be better suited to these areas.
Across every zone, the most important step is simply keeping the rhizome tops exposed to air and sunlight rather than buried or smothered in mulch, since bearded irises are prone to rot when they stay wet and covered.
When and Where to Plant Iris Rhizomes

Knowing when to plant iris rhizomes is just as important as knowing how. Late summer through early fall, roughly six to eight weeks before your first frost, is the ideal planting window in most regions, giving roots time to establish before cold weather arrives. This lines up perfectly with the timeline for dividing irises, so you can move divisions directly into their new home.
For location, choose a spot with at least six to eight hours of full sun, since irises are famously reluctant to bloom well in shade. Well-draining soil is non-negotiable; irises planted in soggy, heavy clay are far more prone to rot. If your soil holds water, consider planting in a raised bed or amending generously with compost to improve drainage.
When planting, dig a shallow hole and create a small mound in the center. Set the rhizome on top of the mound with roots draping down both sides, then spread the roots and backfill so the rhizome itself sits at or just slightly below the soil surface, with the top exposed to sunlight. Space rhizomes twelve to eighteen inches apart to allow room for a few years of growth before the next division is needed. Water thoroughly after planting, then keep the soil lightly moist (never soggy) while roots establish.
Popular Books About Growing Irises
If you’d like to dig deeper into growing irises, a few well-loved titles keep coming up among longtime iris growers:
A Guide to Bearded Irises: Cultivating the Rainbow for Beginners and Enthusiasts by Kelly D. Norris is often recommended as the best starting point for beginners, mixing practical growing advice with gorgeous photography of bearded iris varieties.

The Gardener’s Guide to Growing Irises by Geoff Stebbings covers the wider iris world beyond bearded types, organizing plants by where they grow best, from water gardens to rock gardens.

Irises: A Gardener’s Encyclopedia by Claire Austin and James W. Waddick is a photo-rich reference covering the full range of iris colors, sizes, and bloom types.

The Gardener’s Iris Book by William Shear is a favorite among members of the American Iris Society for its thorough, approachable coverage of iris care and regional variety recommendations.

The World of Irises, published by the American Iris Society and edited by Bee Warburton and Melba Hamblen, is considered the definitive, encyclopedic reference for serious iris enthusiasts.

Any of these makes a great addition to a gardener’s bookshelf, whether you’re just getting started with your first iris garden or you’re ready to explore rarer species.
Need Some Planting Ideas?
There are other plants that may be divided in the fall, including dahlias. If you want to know which plants grow well with your freshly divided and replanted irises, find the best iris companion plants. For other companion planting ideas, check out the tips for the best companion plants for pumpkins, sunflowers, garlic, asparagus, rosemary, radishes, beetroot (beets), thyme, parsley, lupine, borage, stevia, kale, lemon balm, dahlias, or the best companion plants for lavender. Get tips for growing stunning dahlias or vintage roses. Are you a beginning gardener? Try planting some foolproof, easy-care perennials, some spring-flowering bulbs, or learning about the best companion plants for columbine. There are so many exciting plants to grow!
Keep Track of Your Garden with a Journal Logbook
Keep track of your planting ideas, goals, and plans with a printable, editable free garden journal logbook. Choose the pages you want to use and customize them as you wish to record monthly, weekly, and daily garden tasks, lists, weather, and planting arrangements.
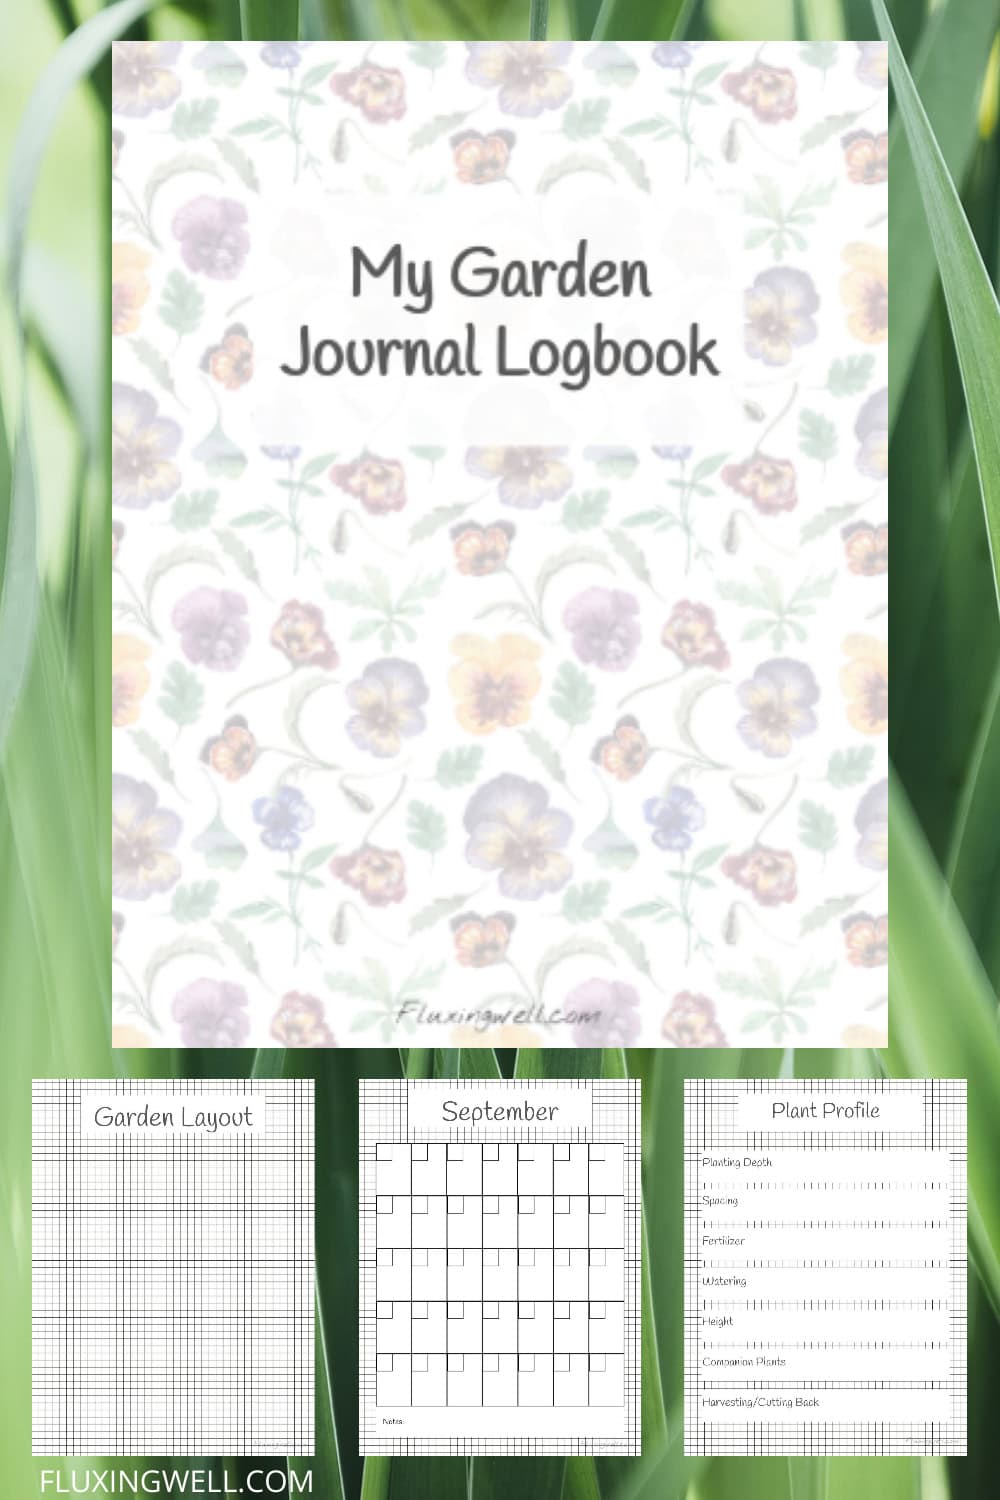
There are also grid pages for easily designing the layout of your vegetable garden, flower garden, or landscape. Print it out and put it into a notebook you can take with you to the garden (that’s what I do). It’s nice to have all of your garden information in one place.
Get the garden journal logbook!
Free Online Garden Planner Layout Template
Now that you know which are the best companion plants for irises, you might need a way to plan your garden layout. Whether you are planting vegetables, flowers, or herbs near your lupine plants, this online garden planner can help you visualize your design and bring it to life. Arrange and rearrange the plants over and over, then print the layout when you are satisfied. With garden tasks that need your attention, this is one way to save time.

It’s fully customizable when you make your own copy and includes two editable chart pages for noting planting specifications.
Get my free online garden layout planner template!
Dividing irises might feel intimidating the first time, but once you’ve done it, you’ll see just how forgiving these tough, beautiful plants really are. A little effort every few years keeps your iris garden blooming for decades to come.
May all of your gardening endeavors meet with success!

Lisa Mitchell is a wife, mom, teacher, and former school librarian who likes to grow fruit, herbs, vegetables, and flowers on her family’s small Pacific Northwest farm. To learn more about what this website has to offer gardeners, click on over to the Garden page.
Want more great garden, food, or party ideas? Follow FluxingWell on Pinterest, Facebook, Instagram, and X for the latest posts, tips, and inspiration.
I appreciate your tips on how and when to divide irises. So helpful to point out the best time frame for doing this!
You’re welcome! I hope all of your iris-dividing efforts are successful, and that you enjoy irises for many years to come.
Thank you for this helpful guide on how and when to divide irises. It’s great information to know that the best window of time is six to eight weeks after my irises finish blooming. I also appreciate the popular book recommendations about growing irises.
I’m happy to share anything I discover, and I’m happy you found the information useful.
Thanks for this helpful guide on dividing irises! Love those book recommendations—they would make lovely gifts as well.
I agree! I’m so glad you liked the information about dividing irises.
Excellent tips for dividing irises! I live in zone 8b, so don’t need to do anything to protect for winter. Thank you for all of this information.
You are most welcome! Irises are so easy to divide, and they make great gifts as well. Happy iris-growing!