
Ready to turn a little dirt, clay, and seeds into something magical? This DIY seed bomb tutorial shows you exactly how to make your own flower seed bombs from scratch, no green thumb required. As a gardener with decades of seed-saving experience, I’ve got everything you need, from knowing which seeds to use to the simple DIY seed bomb creation process. I’ll walk you through the ideal seed bomb mixture, the best ingredients to use, and how to shape everything into little pods of future blooms. Whether you’re planning a kids DIY seed bomb project for a rainy afternoon, building a seed bomb kit to give as a gift, or just looking for a new weekend craft, this simple project is a fun, low-mess way to spread a little wildflower magic wherever you toss it.
My DIY Seed Bomb Backstory
If you have ever wanted to turn a bare patch of dirt into a burst of wildflowers with almost zero effort, DIY seed bombs are the answer. Here’s how I got started with making seed bombs. My local public library introduced a summer reading program: Plant a Seed, Read. One of the make-and-take activities was making DIY seed bombs, so I jumped at the chance. Seed-saving is one of my favorite flower activities, so this was perfect for me to put those seeds to good use. The seed bombs were easy to make, and now I’d like to share the process with you. Read on for the easy ingredients and instructions!
DIY Seed Bomb Ingredients
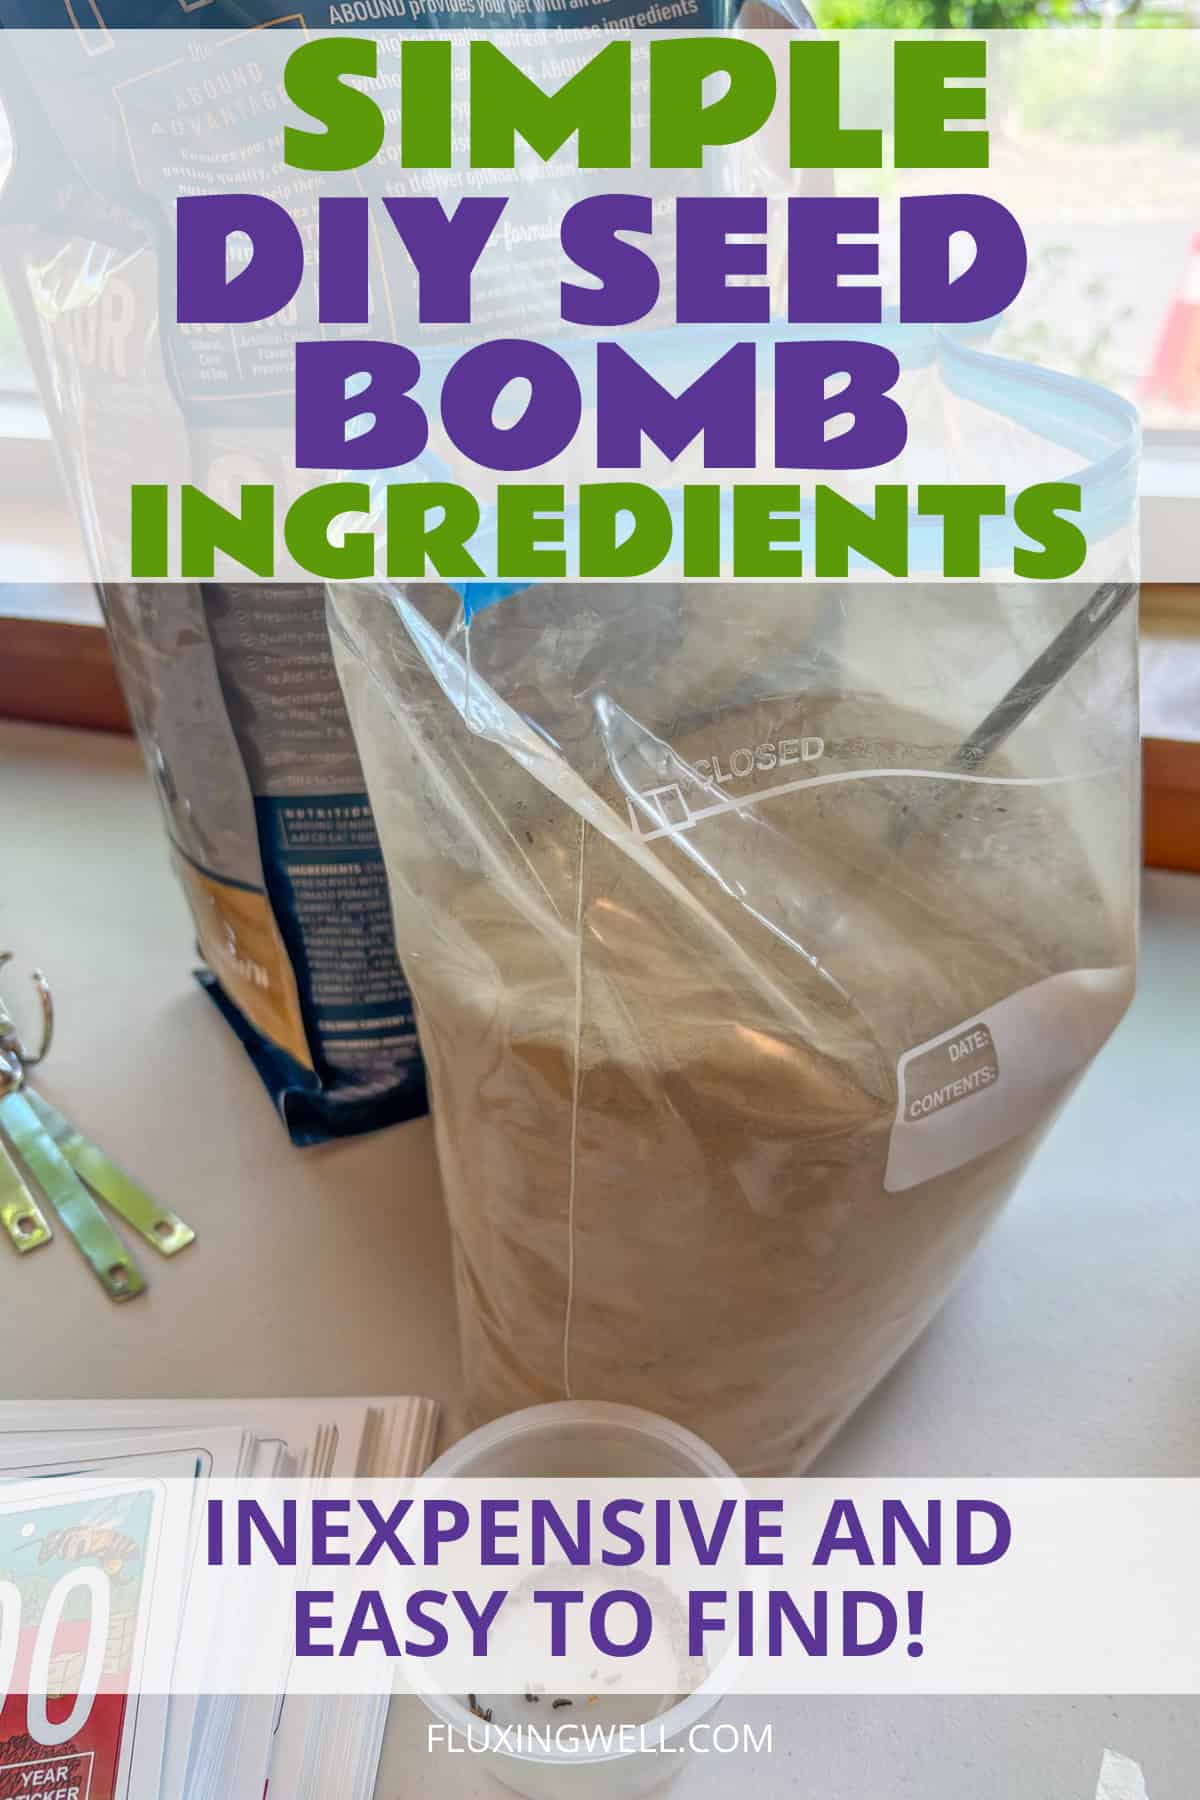
The beauty of this project is how few ingredients it actually takes. For a simple, beginner-friendly batch, you will need:
1/4 cup compost: This feeds the seeds once they start to sprout and helps hold the mixture together.

1 teaspoon bentonite clay powder: the binding agent that gives seed bombs their shape and protects the seeds until conditions are right for germination.

5 seeds per bomb: enough to give each ball a good chance of sprouting without overcrowding. You can buy seeds or make your own blend with seeds you save.

Water, added a little at a time: just enough to form a thick, moldable mixture. Add it slowly so the dough does not turn soupy.
These four ingredients are the foundation of nearly every seed bomb recipe, and they scale easily if you want to make a bigger batch for a party favor, classroom activity, or gift bag.
Other supplies to have on hand: Pie plates, paper plates, paper towels, and little cups for water.
DIY Seed Bomb Instructions
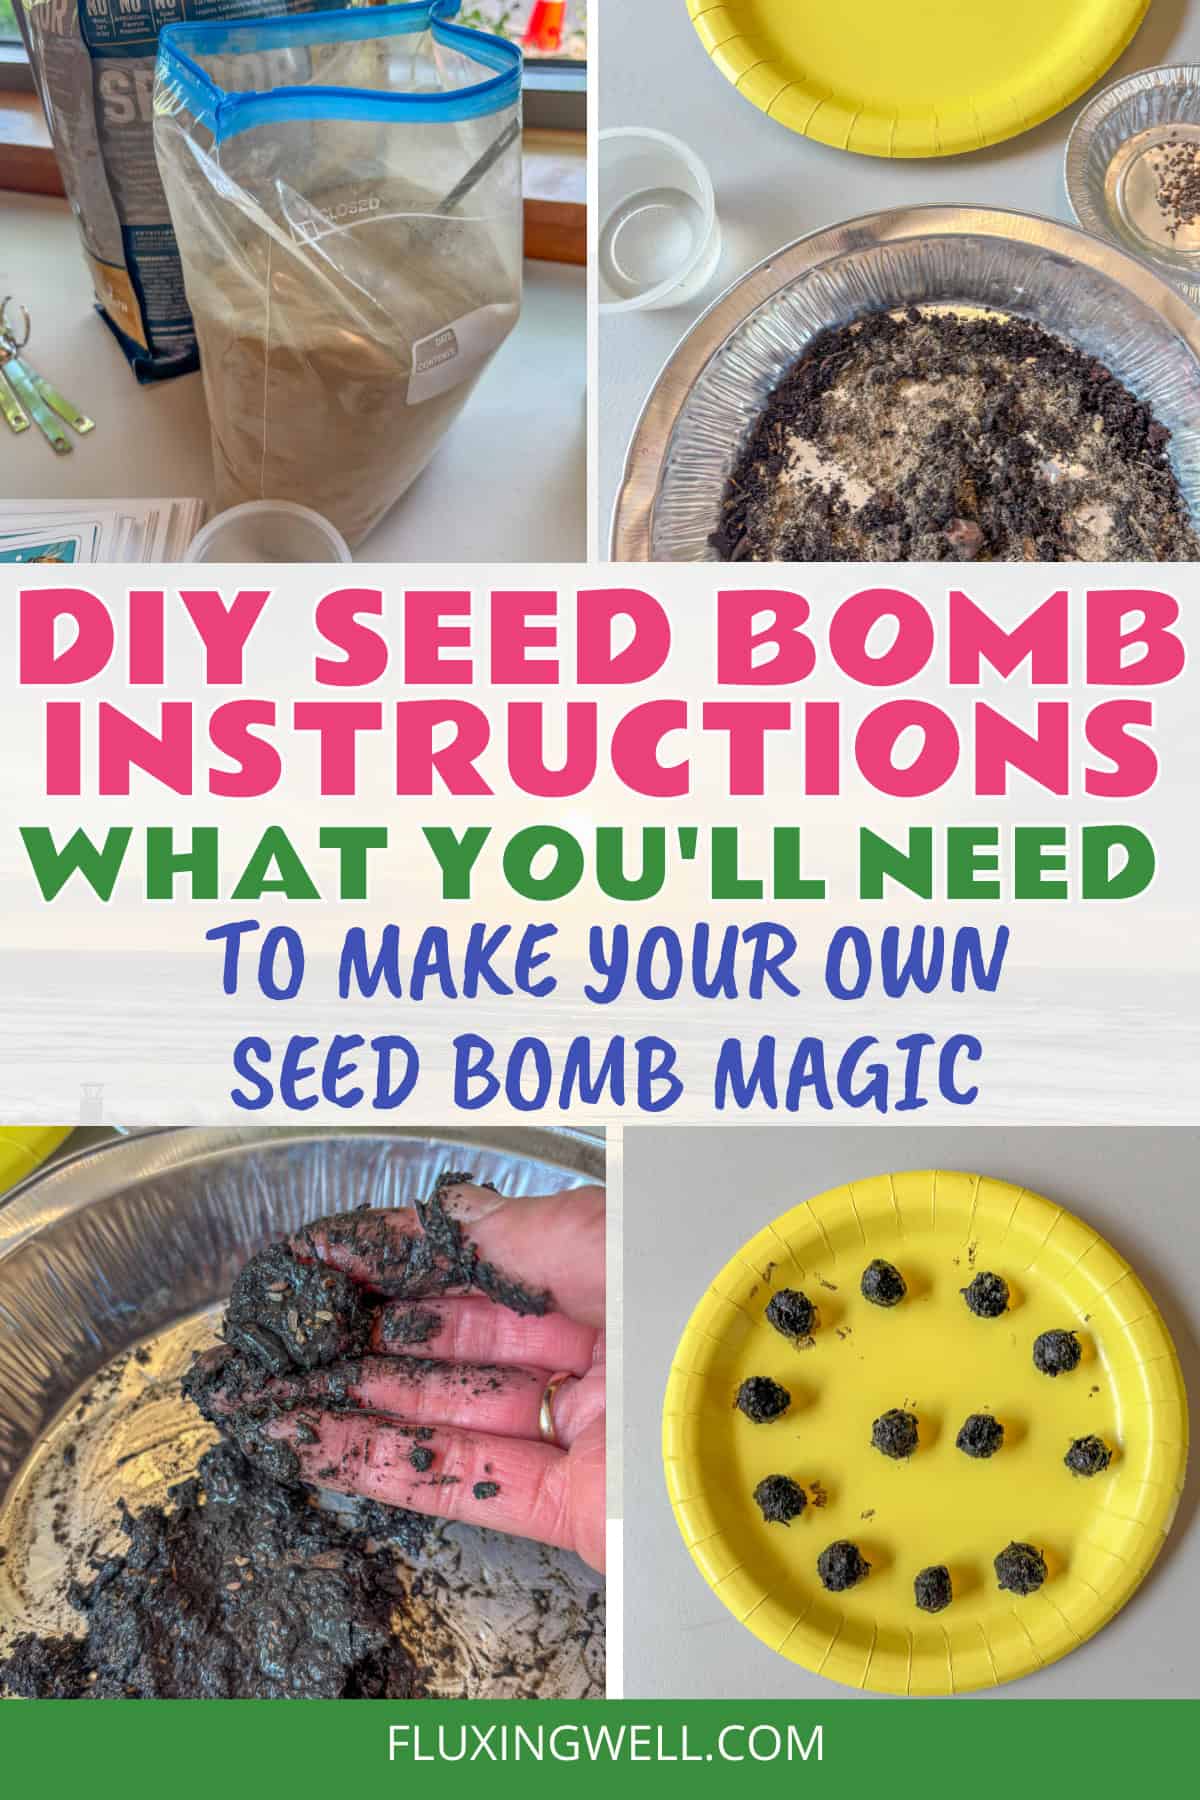
Once your ingredients are gathered, the process itself is quick and mess-friendly enough for kids to help.
In a bowl, combine the compost and bentonite clay powder.
Add water a little at a time, mixing as you go, until the mixture reaches a thick, dough-like consistency that holds together when pressed.
Divide the mixture into small portions and press about 5 seeds into each one.
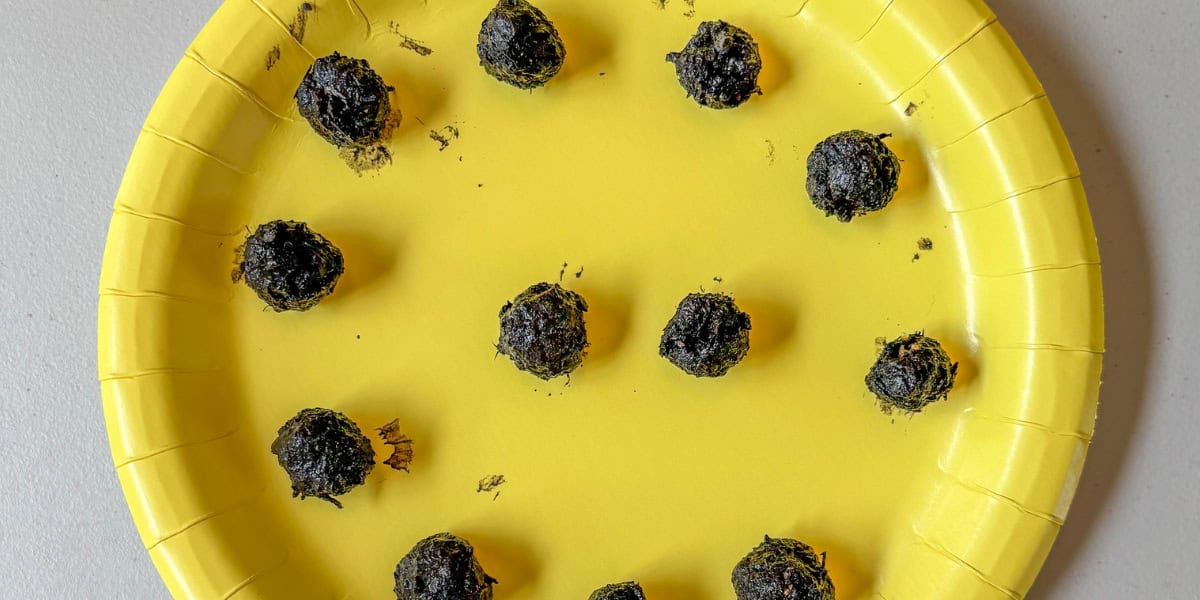
Roll each portion into a ball approximately 1/4 inch in diameter. One batch will typically make about 12 seed bombs.
Place the finished balls on a paper plate to dry completely. This usually takes a day or two, depending on humidity.
Once fully dry, store the seed bombs in a bag until you are ready to plant them.
This straightforward method is why it works so well as a kids DIY seed bomb project. There is no baking, no glue, and no complicated tools, just mixing, rolling, and drying.
Types of Flower Seeds to Use in DIY Seed Bombs
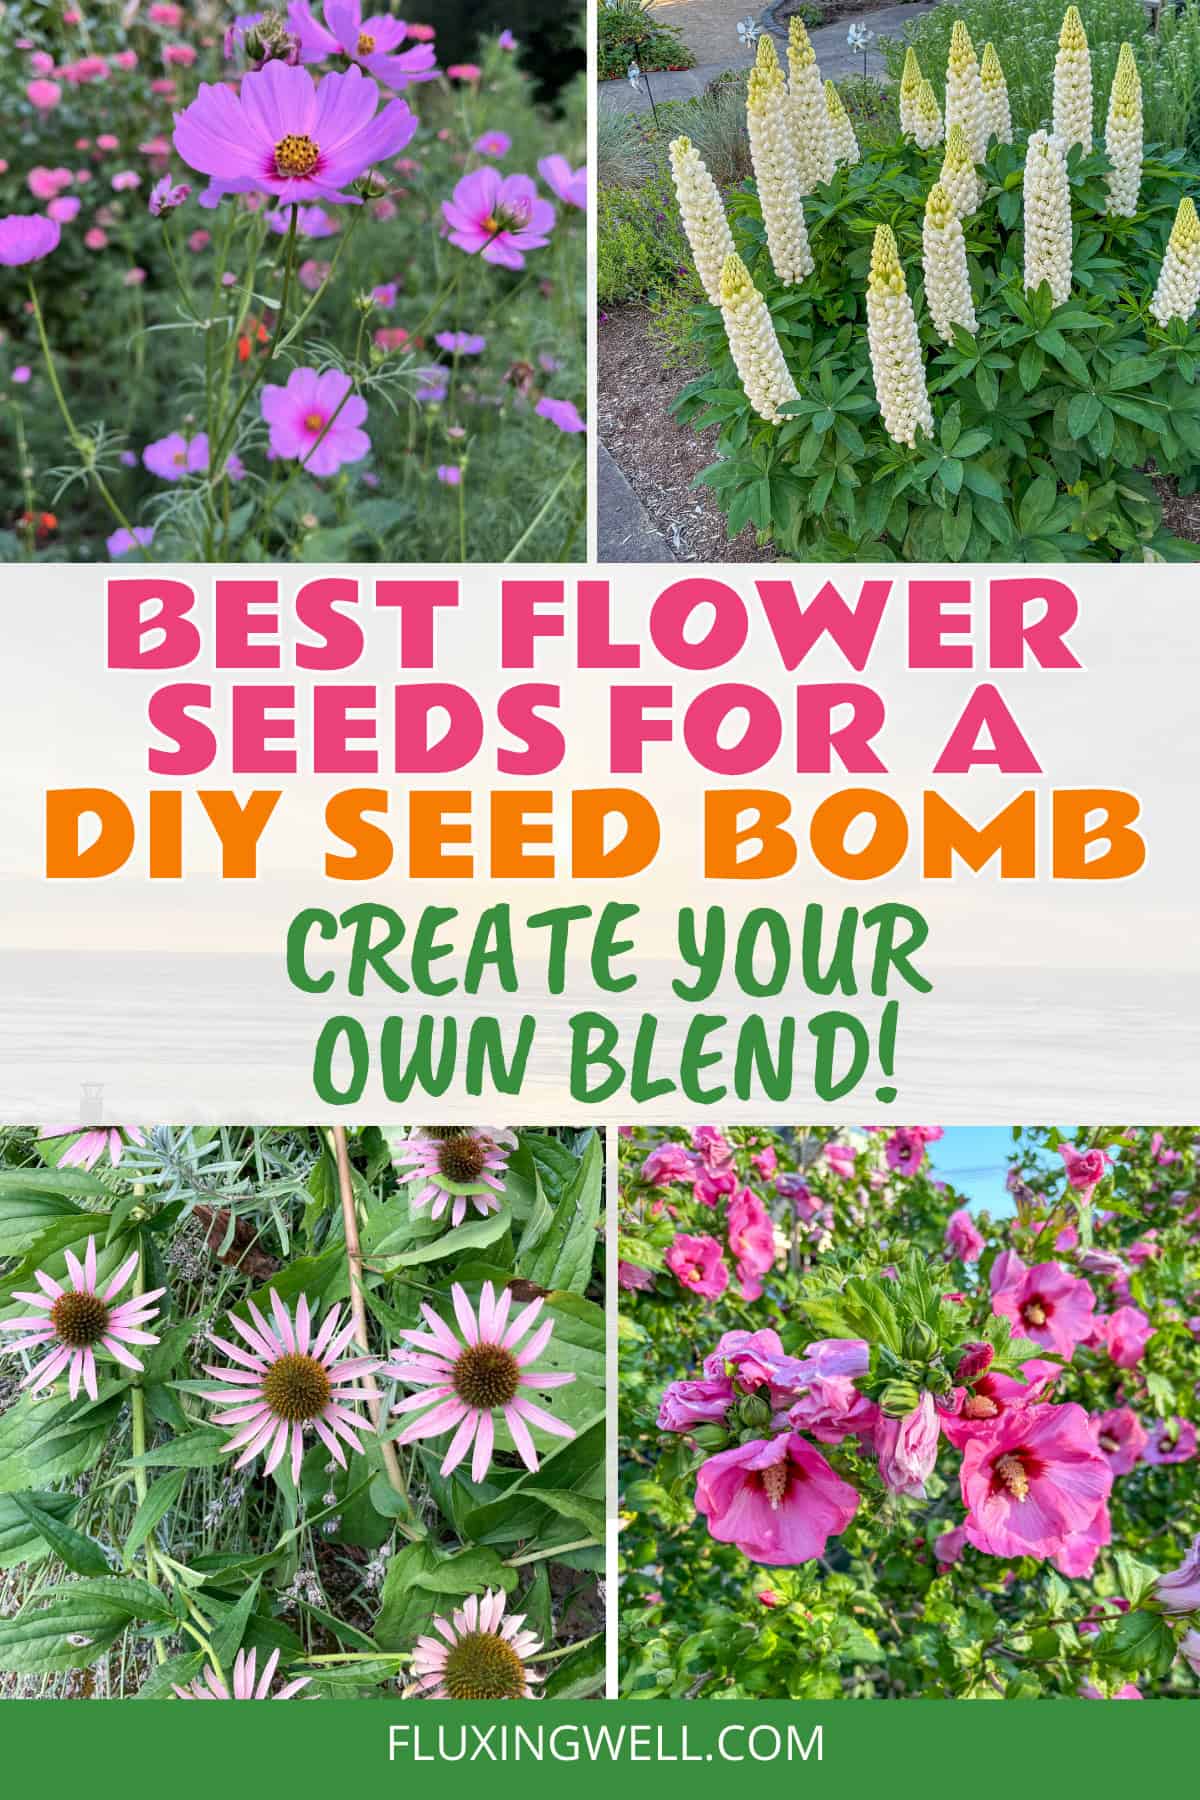
Not every seed is suited for the toss-and-grow method, so choosing the right variety matters. These can be seeds you save yourself from your garden, seeds from a local free seed exchange library, or purchased seeds. Native wildflower species tend to perform best because they are already adapted to your local soil and climate. Popular options include:
Black-eyed Susan: hardy, cheerful, and low-maintenance.
California poppy: thrives in poor soil and full sun.
Cosmos: fast-growing and forgiving of neglect.
Wildflower seed mixes: often labeled specifically for pollinators, these blends are an easy way to support bees and butterflies without picking individual species. You can make your own with seeds you save.
Echinacea: a great option for an area where you want perennial plants to come back year after year
Lupine: lovely purple, pink, blue, or white perennials that grow well in full sun.
Hollyhocks: hollyhock seeds are a great size for DIY seed bombs, and they come back every year if the conditions are favorable
Look for seeds labeled as annuals or self-seeding perennials, since these are more likely to establish themselves without any ongoing care.
Techniques for Tossing and Planting Seed Bombs
The whole appeal of a seed bomb is that planting requires almost no technique at all. Simply toss the dried ball onto the soil surface in your chosen spot. The clay coating protects the seeds from birds and wind until rain softens the mixture and allows the seeds to make contact with the soil below.
For slightly better results, a light toss followed by a gentle press with your foot or hand can help the seed bomb settle into the soil rather than sitting fully exposed on top. If you are working with a larger area, spacing seed bombs a few inches apart gives each one enough room to grow without excessive competition. Avoid tossing onto pavement, mulch, or thick grass, since the seeds need direct soil contact to germinate.
Ideal Places to Toss Seed Bombs
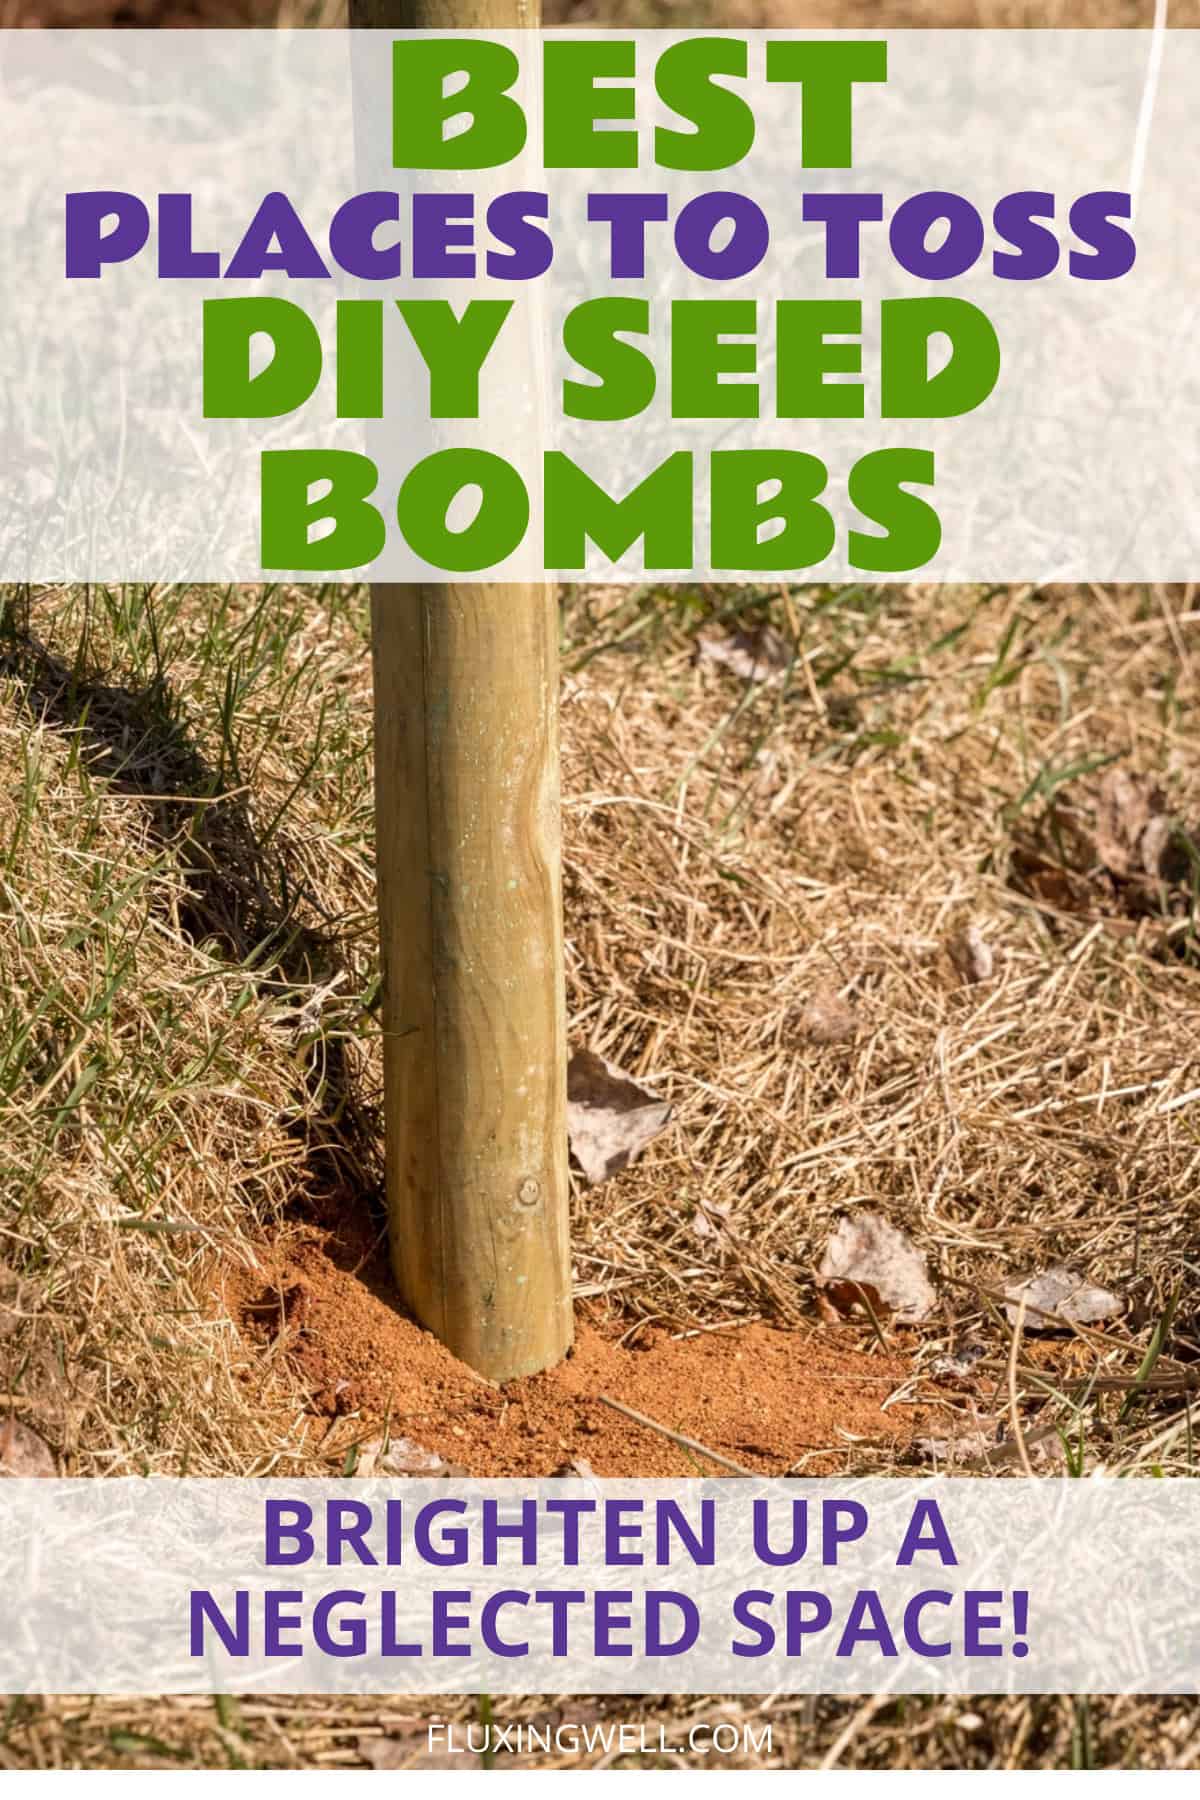
Seed bombs work best in spots with exposed, loose soil and at least partial sun. Great locations include:
Bare patches in garden beds or along fence lines
Neglected corners of the yard where nothing else is growing
Roadside strips or ditches (where local regulations allow)
Community garden plots or shared green spaces
Empty pots or raised beds that need a pop of color
Because seed bombs are so portable, they are also a popular choice for guerrilla gardening projects, where people scatter them in vacant lots or overlooked public spaces to bring a little life to unused ground.
When Is the Best Time to Plant DIY Seed Bombs
Timing has a big impact on how well your seed bombs perform. In most regions, fall is considered an ideal time to toss seed bombs, since the seeds can settle into the soil over winter and are ready to sprout as soon as spring conditions warm up. This is also why so many people make their seed bombs in the fall and simply store them in a bag until the timing is right.
Spring planting works well too, especially right before a rainy stretch, since moisture is what softens the clay and kicks off germination. Whichever season you choose, aim to toss your seed bombs shortly before rain is expected for the best results.
Final DIY Seed Bomb Thoughts
DIY seed bombs are one of the simplest ways to bring more color and pollinator-friendly plants into your space, no gardening expertise required. With just compost, bentonite clay, seeds, and a little water, you can create a batch of seed bombs perfect for gifting, classroom projects, or your own backyard. Store your dried seed bombs until the timing is right, then toss them into a sunny, bare patch of soil and let nature do the rest.
Free Online Garden Planner Layout Template
Now that you know how to make DIY seed bombs, you might need a way to plan where to toss them. Whether you are planting vegetables, flowers, herbs, or DIY seed bombs, this online garden planner can help you visualize your design and bring it to life. With garden tasks that need your attention, this is one way to save time.

It’s fully customizable when you make your own copy and includes two editable chart pages for noting planting specifications.
Get my free online garden layout planner template!
Organize Your Garden Tasks with a Free Garden Planner Notebook
As a result of needing to keep track of garden tasks throughout the year, I decided to begin a garden planner notebook. It has a page for each month, along with notes pages. If a garden planner notebook seems like a good idea to you, good news! You can get it here!

Have a wonderful week, and may all of your DIY seed bomb-making endeavors meet with success!

Lisa Mitchell is a wife, mom, and school librarian who likes to grow fruit, vegetables, and flowers on her family’s small Pacific Northwest farm. To learn more about what this website has to offer gardeners, click on over to the Garden page.
Like what you read here? Please give it a share!
Want more great garden, food, or travel ideas? Follow FluxingWell on Pinterest, Facebook, Instagram, and X for the latest posts, tips, and inspiration.
I. Love. This. I have never heard of seed bombs, but it sounds so fun to try. What a great gift!!
Thank you! I had so much fun creating these. Glad you like the idea!
Love this DIY seed bomb idea! I have some prime locations in mind that would benefit from a seed bomb or two. Thanks for another creative garden idea.
You are most welcome! I had fun making seed bombs and to see them drying on a paper plate. I’m excited to toss my latest batch somewhere special.